

PaywallProject takes payments through Stripe. You link your Stripe account with Connect with Stripe. There are no API keys to copy and no webhooks to set up. Renewals, cancellations and failed payments are handled for you. This article is for site owners connecting Stripe for the first time, and for sites that still use Stripe API keys from before Connect.
Before you start
- You need administrator access to your WordPress dashboard.
- You need a Stripe account, or you can create one while you connect.
How Connect with Stripe works
Connect with Stripe links your own Stripe account to PaywallProject. Your customers, your payouts and your Stripe dashboard stay in your account, exactly as they are. PaywallProject receives Stripe’s payment events and passes them to your site, so you don’t set up a webhook.
The Stripe settings panel states the platform fee for your site: the share of each transaction PaywallProject keeps, or “no platform fee”. Read it before you connect.
Connect your Stripe account
- In your WordPress admin, go to PaywallProject → Settings and open the Stripe tab. (On a new site, you can also connect in step 1 of PaywallProject → Setup.)
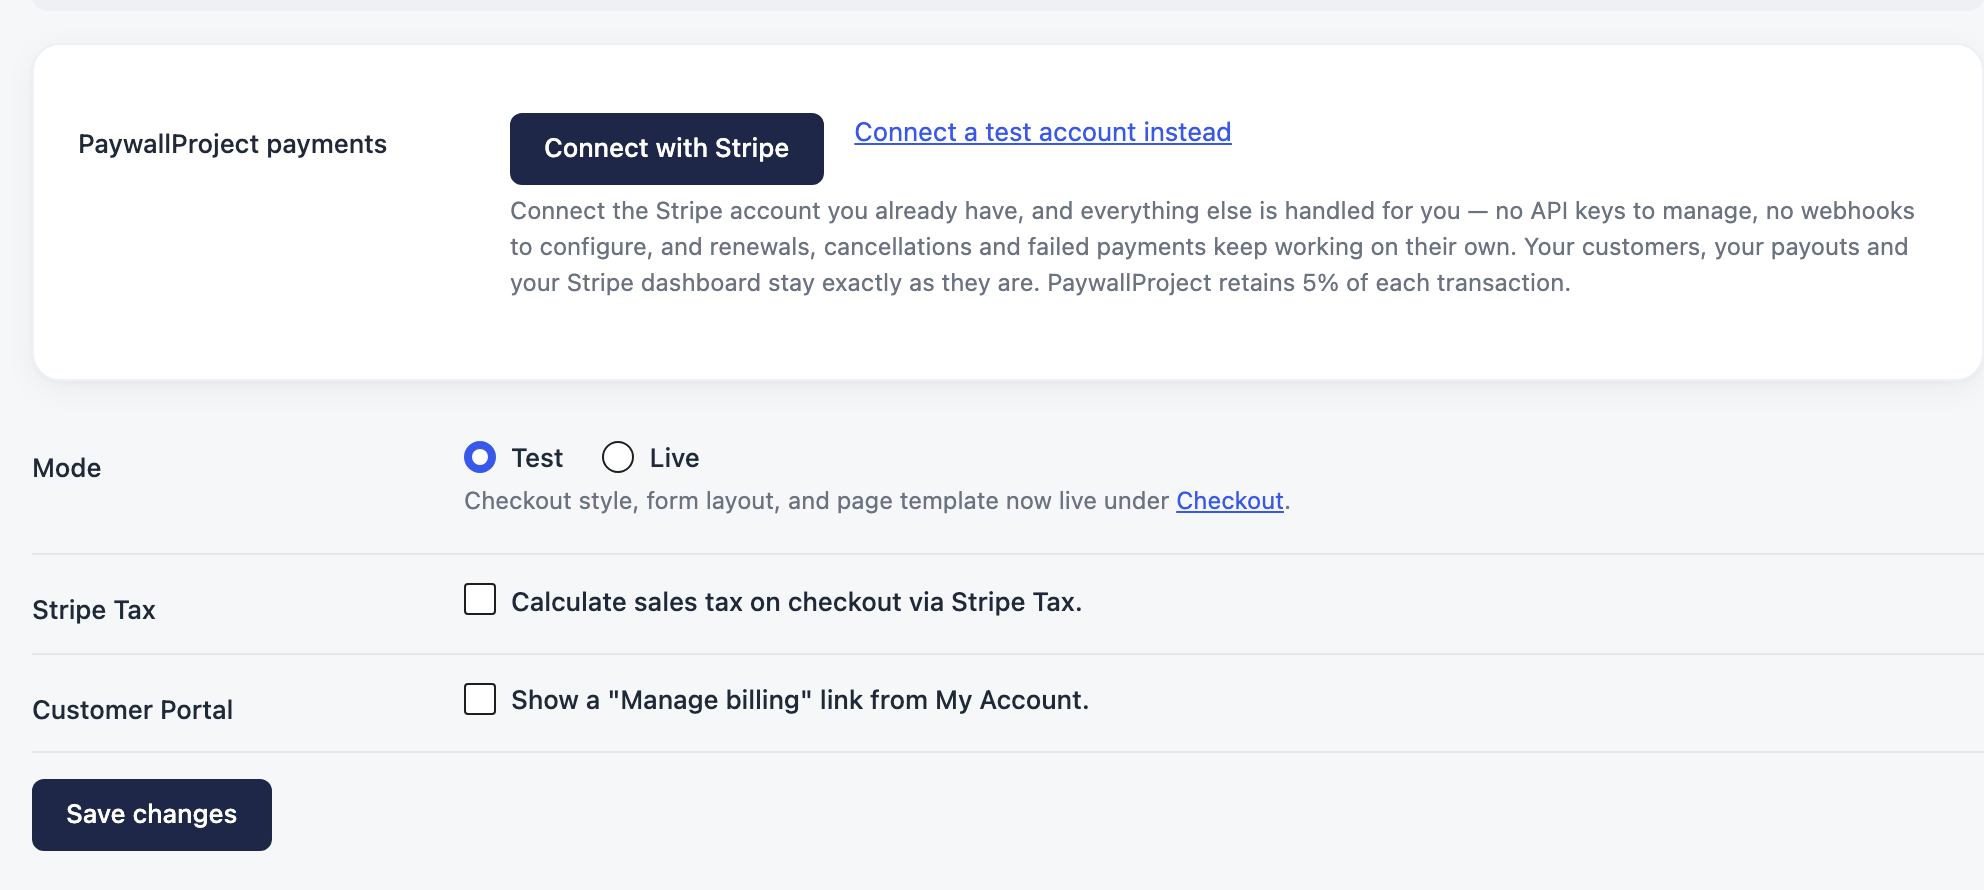
- Next to PaywallProject payments, choose a button:
- Connect with Stripe connects your live account. Use this to take real payments.
- Connect a test account instead connects a Stripe test account. Use this to try your checkout with Stripe’s test cards. No real money moves.
- Stripe opens. Choose the Stripe account that should receive your payments, or create a new one. Then complete Stripe’s connection steps.
- Stripe sends you back to the Stripe tab. You see “Stripe account connected. Payments now run through PaywallProject.”
After you connect, the panel shows Connected with your Stripe account name and ID. The Webhook row shows Handled by PaywallProject.
Live and test mode
Live and test are separate connections. Connecting a live account doesn’t connect a test account, and the other way round.
- Your site switches to the mode you connect unless its current mode already has a working connection or saved key. For example, a site selling live can connect a test account and keep selling live.
- To switch by hand, choose Test or Live next to Mode and click Save changes. The mode you switch to needs its own connection.
Sites that use Stripe API keys
Since PaywallProject 4.0, Connect with Stripe is the only way to set up payments. The fields for your own Stripe API keys, the Set Up Webhook button and the managed-install mode are gone from the settings.
If your site already took payments with API keys saved before Connect, nothing breaks. Your site keeps charging with those keys, and your existing Stripe webhook keeps working. Renewals carry on as before. The Stripe tab shows this message instead of the Connect buttons:
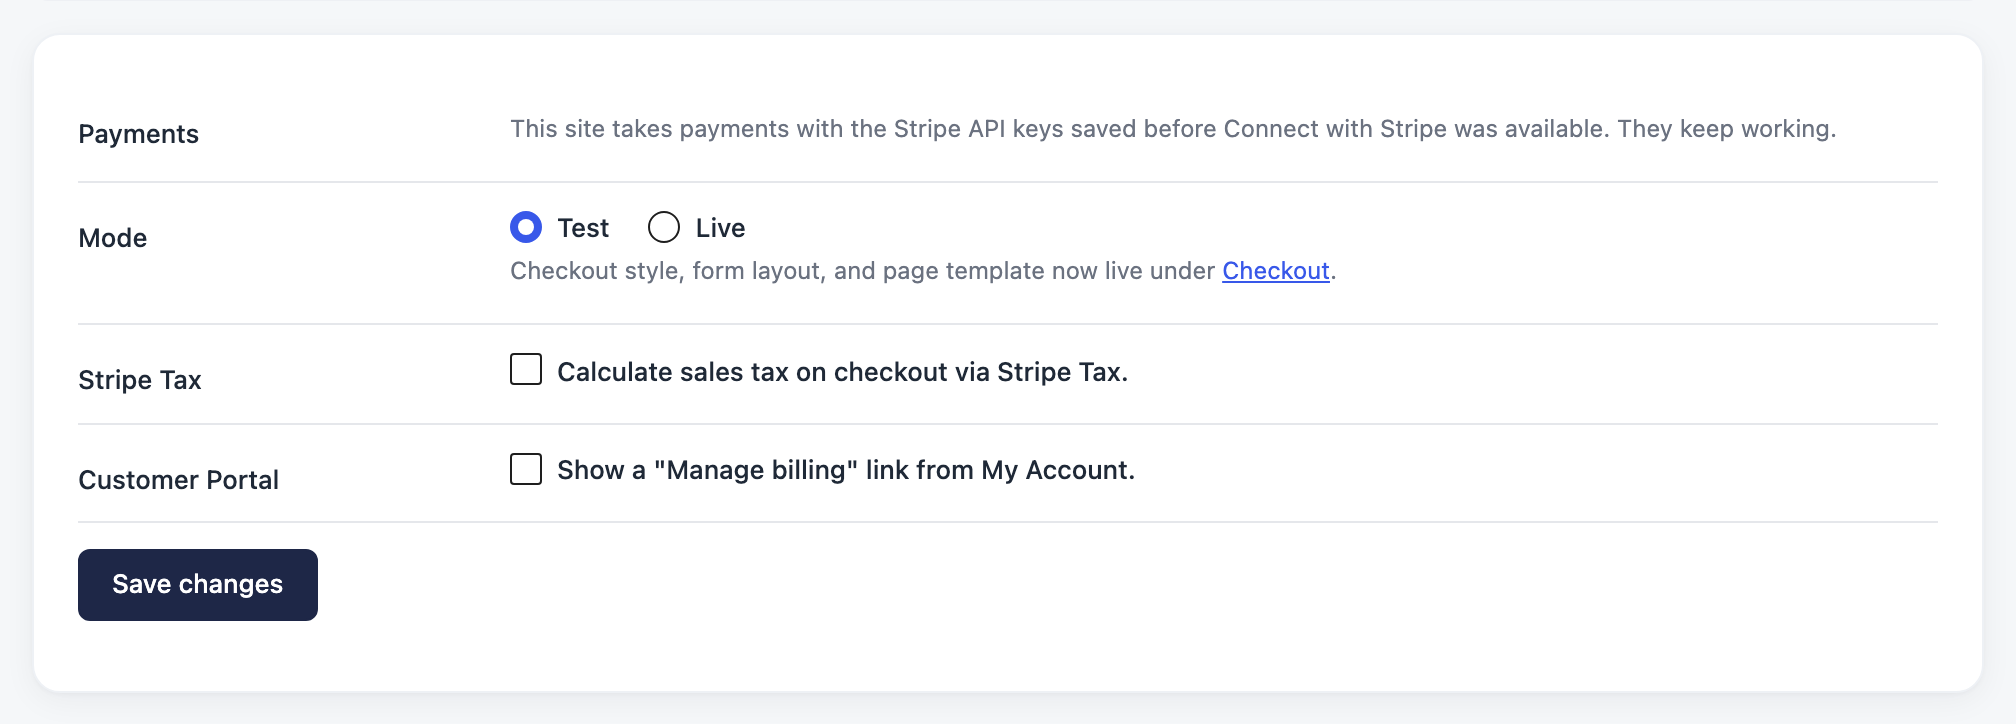
You can’t view or change saved keys in the settings any more. PaywallProject doesn’t offer Connect on these sites, so a click can’t change how your payments run by accident. To replace your keys or move to Connect with Stripe, contact PaywallProject support.
Good to know
- Disconnect on the Stripe tab removes the connection for the current mode. Payments stop until you connect again. Your Stripe account and its data stay as they are.
- If you see “Connecting through PaywallProject is unavailable right now”, PaywallProject couldn’t get the platform fee for your site, so it doesn’t show the button. Try again in a few minutes. If it continues, contact support.
- If the fee changes after you connect, the Stripe tab shows the new figure.
- Checkout style, form layout and page template are under PaywallProject → Checkout, not on the Stripe tab.